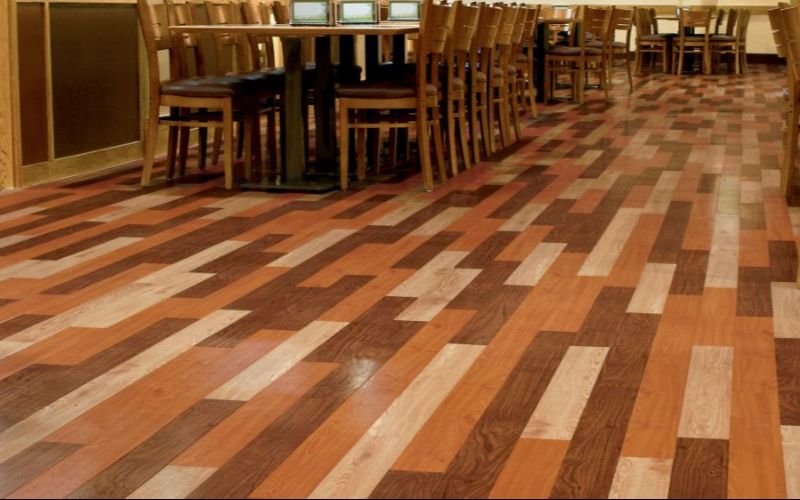
Old, torn laminate flooring removal seems a difficult task, due to installation complexities. Such floors can damage the subfloor as well, which is why it requires quick removal. You might be fearing higher labour costs and professional fees. But with us, you can learn how to remove laminate flooring without professional help. This is the most affordable DIY guide that the majority of homeowners can easily follow.
Why Remove Laminate Flooring
Laminate flooring removal became necessary for structural changes. Further, in case of dents and tearing, the flooring needs prompt removal. Let’s discover more reasons for laminate floors removal with us.
Structural & Subfloor Issues
In case of damaged subfloor or rotting, the whole flooring should be removed. Moisture accumulated under the laminate flooring requires adequate removal. It is necessary to sanitise the subfloor and eliminate germs, bacteria, and mould growth.
Damage And Wear
Excessive moisture causes buckling, which damages the planks. That makes it unrepairable. Because laminate cannot be sanded or refinished, the only solution is total replacement. Usually, laminate flooring has a lifespan of 25 years or more, but it requires total removal and replacement when damaged by water and high-foot traffic.
Upgrade And Aesthetics
More often, homeowners replace old laminate floors for improvement. They might get rid of colour-faded flooring to get trendy, visually appealing vinyl tiles. Further, removing the flooring in Dubai is necessary to upgrade to heavy-duty flooring. It increases property value and gives a higher ROI.
Faulty Installation & Health Concerns
Those floors, which are installed without keeping the expansion gaps, need replacement. The reason is that extreme heat and cold cause expansion and contraction of tiles. Due to which tiles overlap and are torn apart. Further, low-quality laminate releases a significant amount of VOC, which damages the resident’s health.
Tools And Materials Needed
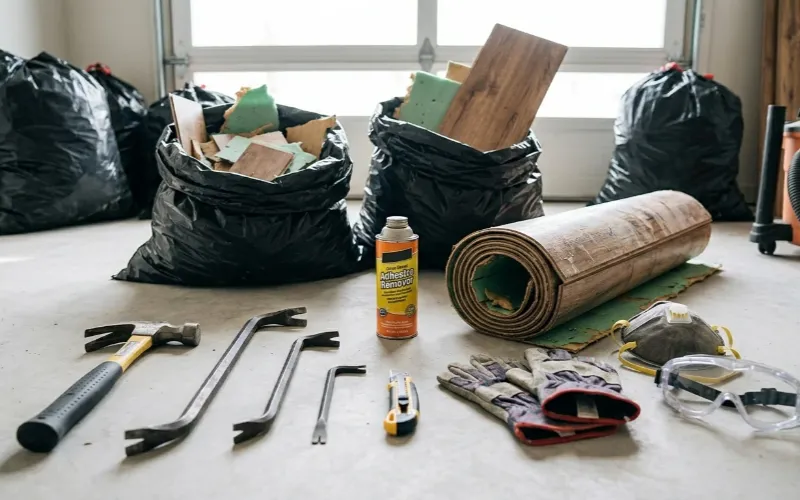
Before you plan to remove laminate flooring planks, gather the necessary tools. Keeping all the essential things by your side saves your time and energy. Here is the list of necessary tools given below.
- Hammer
- Gloves
- Pry Bar
- Goggles
- Knife
- Scarpper
- Circular Saw
Step-By-Step Guide: How To Remove Laminate Floor Efficiently
To remove the laminate floor from your space, here is the DIY guide. Follow every step to know how to remove laminate flooring without damage.
Step 1: Prepare the Room

While beginning the procedure, room preparation is a must. Start disconnecting all the electronic appliances to avoid a mishap. Put off all the wall painting to protect against scattering dust. In case there is any decoration piece, transfer it to another room. Pull the curtains from the windows, and set them aside in another space. Cover your ceiling fan with a newspaper or plastic cover.
Transfer heavy and light furniture to the new location. Roll out the floor carpet and aside that. Moreover, clean all the debris using a vacuum cleaner. Recheck the whole room another time and move toward the next procedure.
Step 2: Remove Baseboards & Trim

Once the room is empty, start removing the baseboard. Take a knife and cut through the top corner of the baseboard. Make sure to do it along the caulk and paint. This way, you can prevent damaging drywall. Loosen the trim using a putty knife. Put it between the wall and the baseboard. After that, tap it with a hammer to remove it from its original position. Now, insert the pry bar and check for the stud location.
Make sure to put a wide putty knife right behind the pry bar. This will keep the wall safe during the process. Take a pair of pliers and remove the nails from the back of the trim. Remember to label the backside of trims in case you reinstall them. Removing laminate flooring with baseboards will protect the subfloor from damage.
Step 3: Find The Starting Point
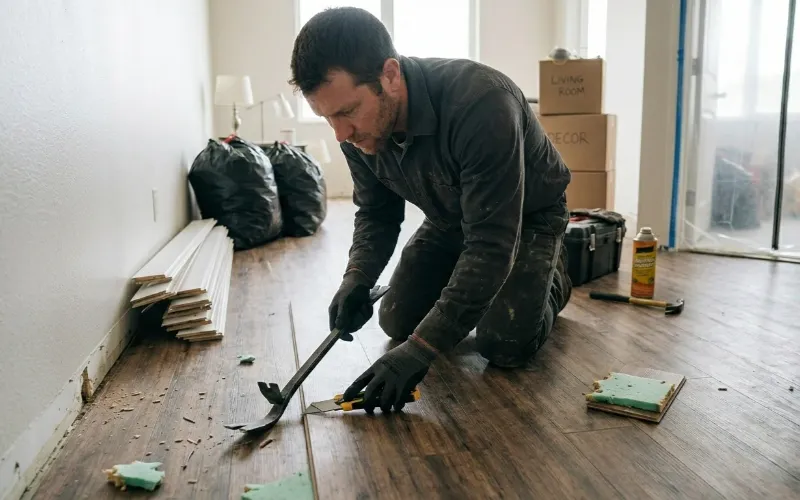
For a careful removal of laminate flooring, finding a starting point is a must. Find the longest wall of the room and sit on the left side. You need to work from left to right for quick completion. You need to add a 10 to 12 mm spacer between the floor and the wall. That will create the necessary expansion gap. Start work from the longest wall, draw a straight line, and follow it.
You need to measure the room width and divide it by the plank width. If your room is unusual in shape, then start from the centre.
Step 4: Unlock And Remove Planks
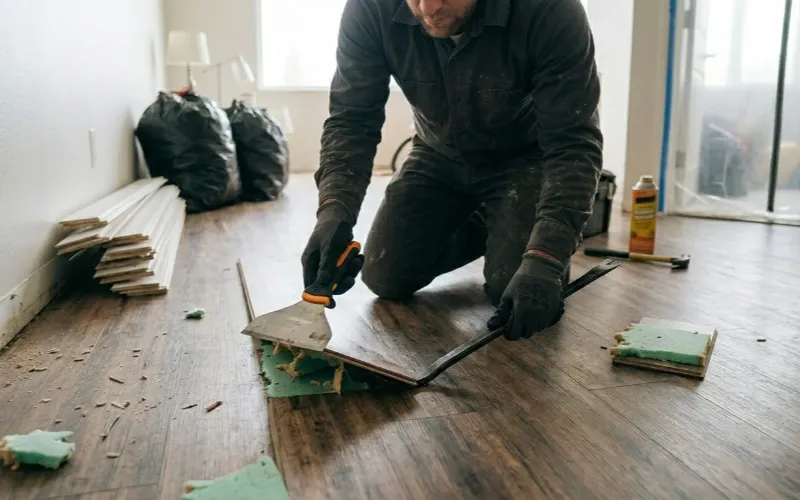
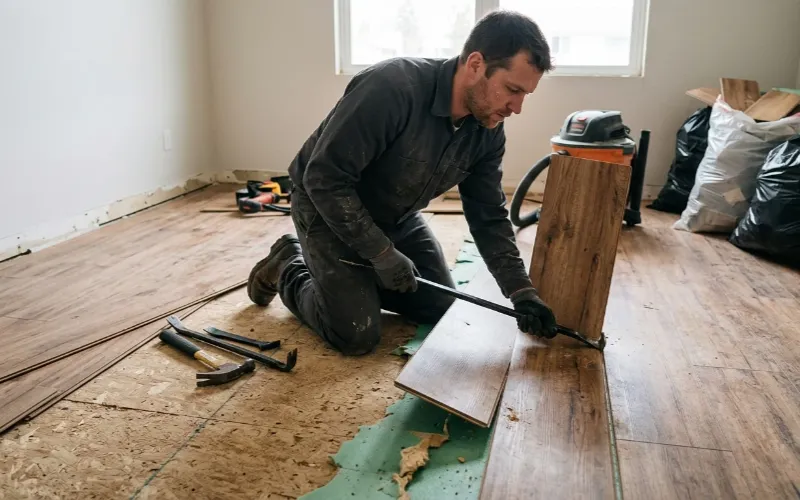
Removing laminate flooring requires technical expertise. Especially if the flooring is done with click-lock installation. Because the tongue-groove system requires removal by lifting the plank at a 30 to 45 degree angle. In floating floor systems, planks are locked together rather than nailed down. Every plank consists of tongue and groove at each end. You need to remove this by inserting a pry bar.
Put the pry bar into the gap between the floor and the wall. Now, lift the plank at a 30-degree angle, and remove it from the tongue and groove joint. It’s just the first row that seems difficult to remove; later on, every other plank can be easily removed without effort. In case any plank is fitted with glue, use a heat gun. As heat can melt the glue, making a easily remove from the baseboard.
Step 5: Cut Stuck Or Glued Sections
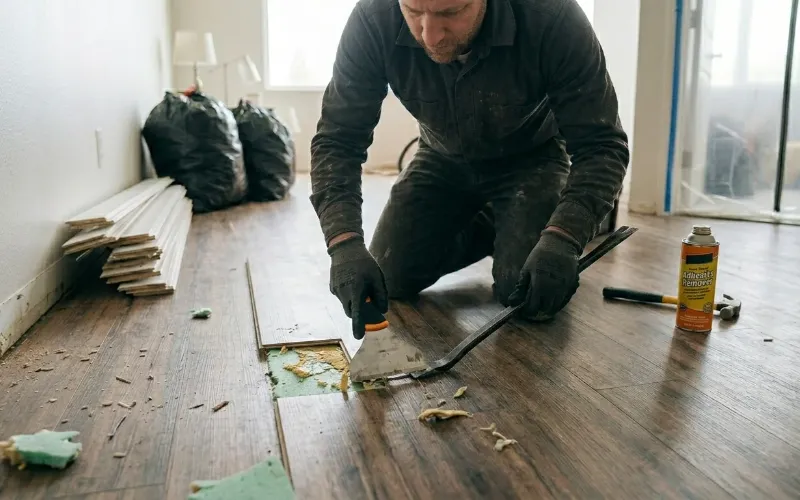
Not every laminate is installed using the tongue and groove method. Rather, some are fitted through the nail-down and glue-down method. To remove these tightly fixed flooring planks, here are two useful methods given below.
Safe Cutting Method For Laminate
If your laminate flooring is glued to the subfloor, that requires a whole removal process. For that, you need to set the circular saw to a depth of 7/16 inches. Make sure not to damage the subfloor with a sharp saw. Trim the floor into smaller sections. You should use an oscillating multi-tool to cut the planks, right in the middle of the room.
You can use a utility knife for glued planks that do not remove easily. Use a jigsaw to remove the irregular pattern sections of flooring.
Removing Glue Laminate Sections
Use a hairdryer and set the appropriate temperature. Do not set the heat to a high temperature that will scorch the flooring. Setting on a medium heat will work fine. Once the glue becomes loose, insert a flat scraper at that section. Remove the plaques with a long handle to ensure the glue is fully removed.
Step 6: Remove Underlayment
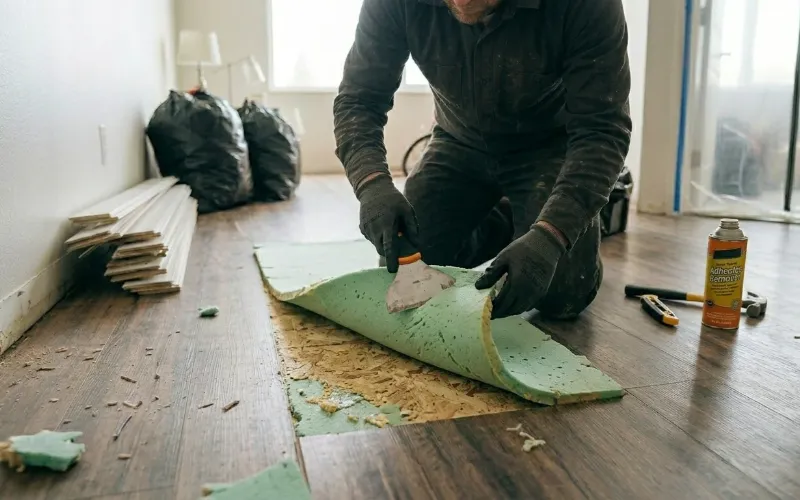
As a homeowner, you might be wondering how to remove flooring underlayment. Then here is the detail. Once you successfully remove the planks and tiles, it is time for the next step. For that, remove the underflooring or underlay. You should use a circular saw and cut deep ¼ inches into the underlay.
You need to trim the subfloor action into tiny pieces. For stubborn underlayment, use a saw with a scraper blade. You can use a pledge hammer to remove stuck plywood. Moreover, remove all the nails and glue from the tiles and planks.
Step 7: Clean & Inspect Subfloor
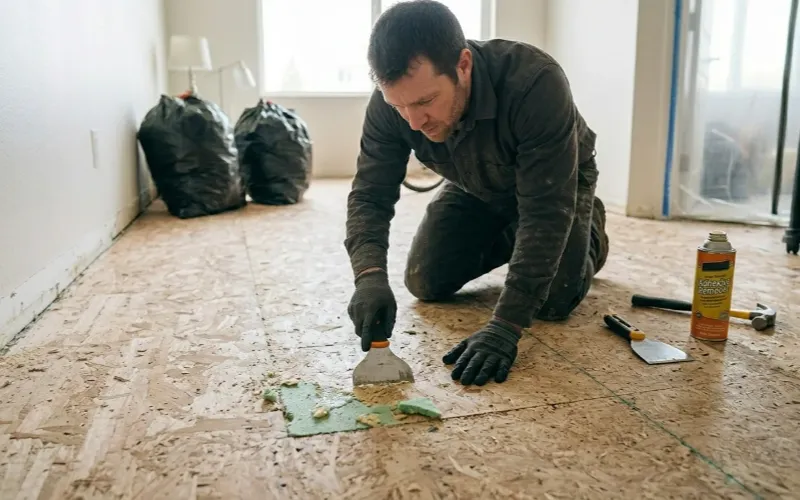
Just after the removal of the underlay, prepare the floor. You need to check for any warping and moisture in the base floor. Especially in the kitchen and bathroom, the floor gets rotted. Due to mildew growth, a smell lingered in all the rooms. In low-light areas, you will see dampness. That needs a total removal through deep cleaning.
Fill up the cracks using wood putty to avoid water seeping. Remove debris from the flooring with a HEPA-filtered vacuum cleaner. Level the uneven flooring to prepare for new flooring installation. Check for the moisture test and apply primer for moisture control and a barrier against water damage.
Wrapping Up
Laminate flooring removal seems time-consuming, but with the right method, it can be done quickly. For new flooring installation, you need a clean base floor. That can be achieved through the DIY flooring removal tips given above. Start by clearing out the spaces and transferring furniture to the new place. Further, search for the starting point to begin the removal process.
Remove the baseboard from the floor and get rid of the glue and nail section. You need to unlock the planks and remove the underlay to make things clear. After the work is completed, you need to recheck everything. Carefully following all the instructions above will help you safely remove old laminate flooring.