How To Install Hardwood Flooring? Step by Step Guide
Hardwood flooring is very common in homes because it is highly resistant to high traffic. Due to its smooth surface, it can be easily cleaned with little effort and is the top choice of every resident. Since installation costs are very high, most people are looking for an alternative. To eliminate this problem, Just Lay has made this smart guide to facilitate the residents in an accurate fitting of hardwood flooring at home.
The Ultimate Guide To Installing Hardwood Flooring
The hardwood floors are in demand worldwide because they are durable and can bear high traffic very easily. Further, they do no damage and are not scratched by walking, hence the prior choice for residents.
If you are planning to install flooring by yourself to avoid the fitting cost, worry not, because we have made a solution. We have created a 10-step smart guide to help you install your sturdy wood flooring without getting tense.
Important Materials And Tools
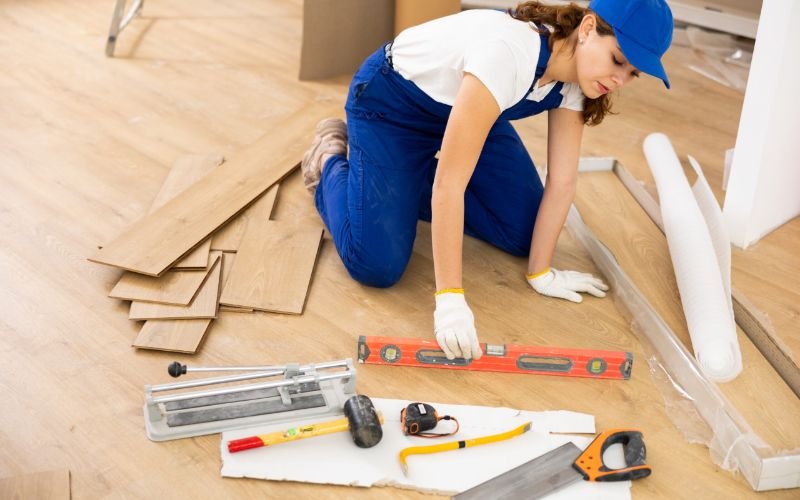
- Gloves
- Jigsaw
- Tape Measure
- Pencil
- Spacer
- Rubber Mullet
- Knee Pads
- Glasses
- Chalk Line
- Wood Putty
- Hardwood Plank
- Underlay
- Nails
- Glue
- Epoxy-Based Filler
Step 1- Preparation for Installation

During hardwood flooring installation, you first need to select the type of wood panel you want to install in your floor. Just select from engineered or solid wood flooring with long-lasting features. It is observed that engineered wood planks can last longer due to their greater durability compared to other materials. Further, they can bear a heavy load and resist foot scratches easily; they can last for years without getting damaged. Every homeowner’s first choice is engineered wood because it is equipped with all the features a best floor can get.
Step 2- Selecting The Area
You have to choose an area where you want to install this wood flooring and set a starting point from where this process will begin. Make sure you select the space where there is no water drainage and mould growth, but if your spaces contain these elements, you have to treat the floor first before making the installation. Choose the spot that is longer and start your installation in a rectangular way. You have to carefully note down the plank size and leave ¾ inches from each side. Try to use a chalk line to mark the spot of installation.
Step 3- Mapping Out The Process
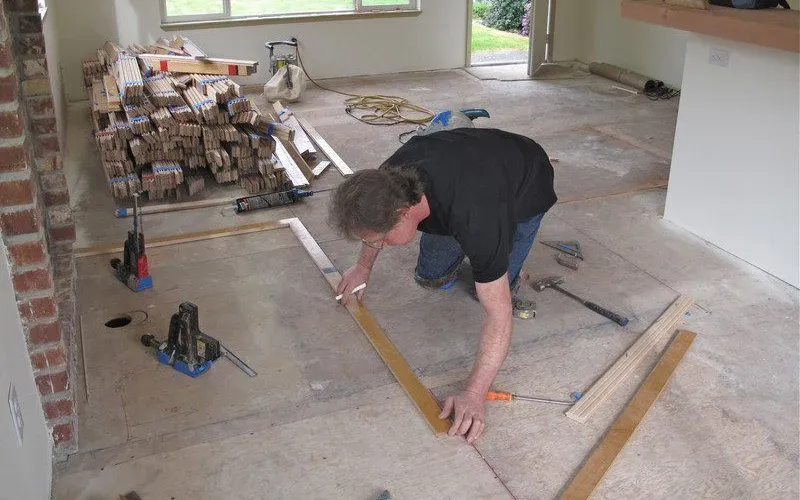
In order to get an accurate fitting, you have to first plan the layout and measure the size, and keep all the essentials with you. Take a proper measurement of the room with the help of a tape measure and note down the size with the help of a pencil. Calculate the whole dimension by multiplying the width by the length. This formula is used by the installers and easily calculate the whole room dimensions. Mapping of plank insertion is also essential; you have to set the steps through which, one by one, the plank will be inserted.
Step 4-Preparing Floor
Remove any previous floorings that are installed on your ground. Now fill any gaps you found on the floor with epoxy-based fillers to accurately cover any holes. Scrub the floor surface and clean the dust for better results. Now bring the wood flooring and leave it for 3-5 days so that it can absorb the moisture and settle in the atmosphere. Try to trim the planks with a jigsaw before the fitting process begins.
Step 5-Installing The Underlay
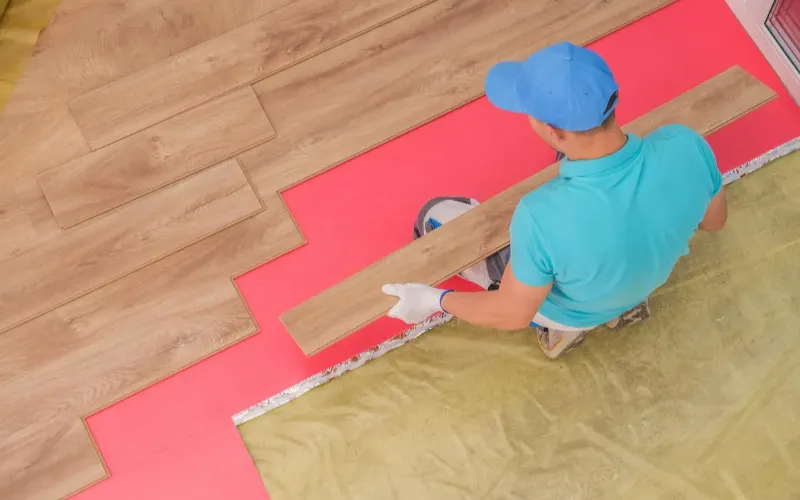
The installation of underlay is very important because it provides cushioning and a supportive feature to hard flooring. You have put the underlay from one side where the foil is see, and put the down and place it in the dedicated area. Make sure to leave at least 5cm space from the wall, and now try to fix it with hard glue to bind the underlay with the floor. You can also use waterproof tape for this step. Underlay can protect your floor from moisture and keep termites from eating the wood.
Step 6-Trimming Of Door Chasing.
During the wooden flooring installation, make sure to cut the door chasers from the bottom to get a seamless floor. Try to increase the flooring to the door jambs so you get a continuous look from all of the room. This technique will help the installation to be placed without any error, and your room will get uniformity and seamless style.
Step 7-Placing The Boards
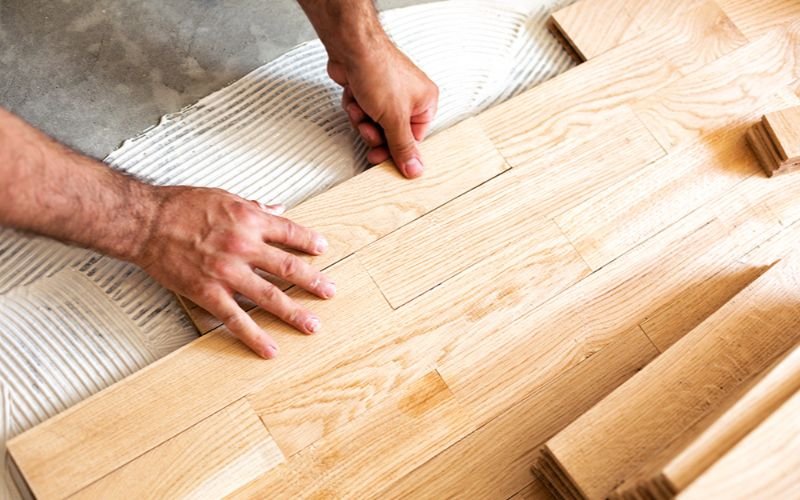
To perfectly install the board, you have to make sure to wear the glasses for your safety and knee pads to protect the knees from nails. Make sure to wear gloves to prevent your hands from injury. Now, to have to decide how to place the first plank of wood that will craft the whole direction of the room. Make sure to set the wood board in the direction of the room so that all the remaining planks can be set likewise. Try to cover the gap by using the spacer from the wall to the plank. Put one plank after the other one in a rectangular way so that they can fit perfectly.
Step 8-Locking The Pieces
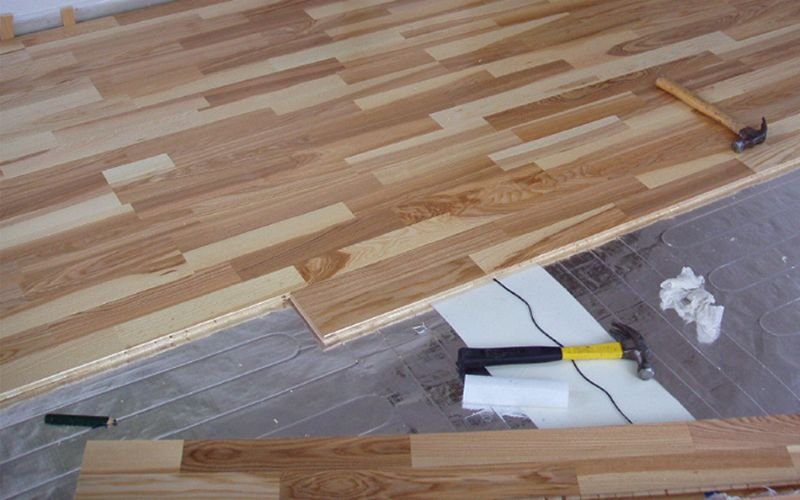
Interlock all the pieces of wood planks in the same way and use a rubber mallet and nails to secure the hardwood planks. You can use another method, which is glue-down, in which you have to put the glue on the pieces and then fit the tongue of the plank, and use the tapping method.
Step 9-Filling The Gaps
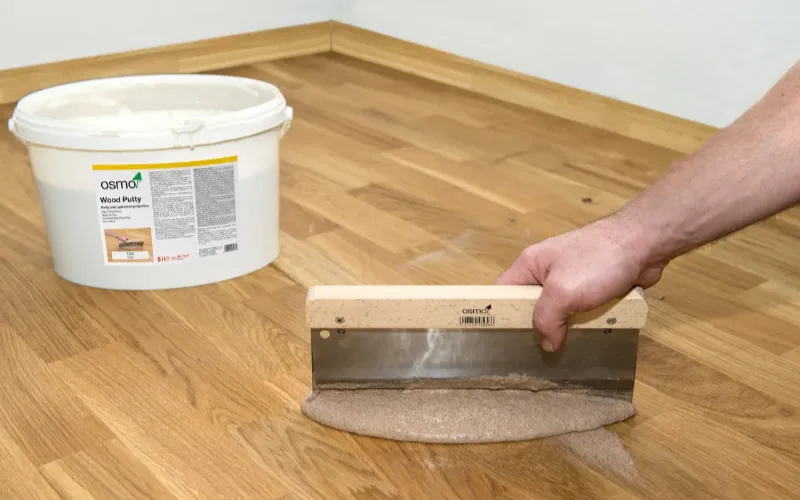
Check the floor planks if there is any spaces in the pieces, then you can use wood putty to fill the gaps. If there is too much distance, then cut the small pieces of wood and fill that space, fix it with hard glue and nails. See if there is any hurdle remaining that can limit the installation, then remove it before finalising.
Step 10-Final Touch Ups
In this step, make sure to eliminate all the loopholes, like removing the spacer from the floor. Also, trim the baseboard from the edges to match the size of the flooring. Make sure to check that every nail is installed perfectly. You have to keep in mind that you do not punch the nails directly into the wood, but place them in the baseboard.
Tips To Maintain The Flooring
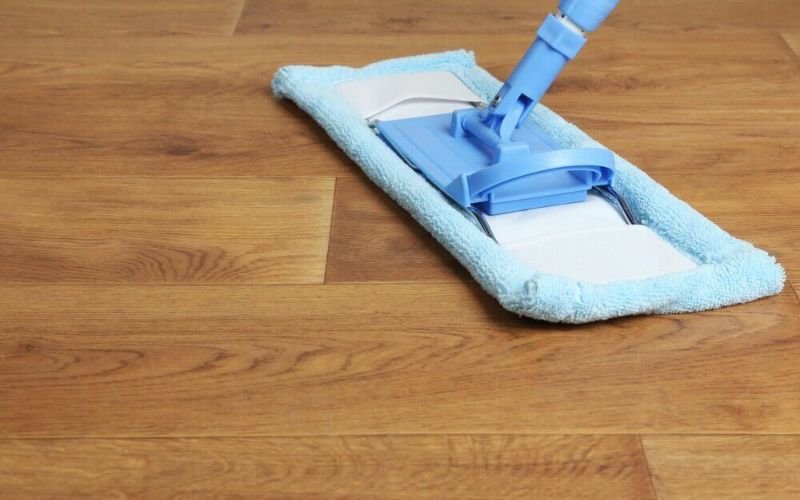
For long-term flooring, you have to keep in view the following maintenance tips that are given below.
- Make sure to remove the stain as soon as possible.
- Daily, clean the floor to avoid dust gathering.
- Maintain the floor with mops.
- Try to remove the extra nails.
- Renovate and renew any scratches.
- Make sure to remove moisture.
- Put door mats at the entrance.
Final Remarks
Sturdy flooring is the choice of every homeowner as it provides them with grip and assurance for long-lasting results. In Dubai, the cost of hardwood flooring installation is high, which is why we have crafted this guide for you to accurately fit the wood planks at home. In this case, try to make the subfloor, take the accurate dimensions, and buy the exact size of engineered wood planks. After that, using the latest tool, insert the planks in the floor and fit them with nails and the glue-down method. You can cut the board to craft a perfect and finished look, and cover all the remaining spaces with wood putty.