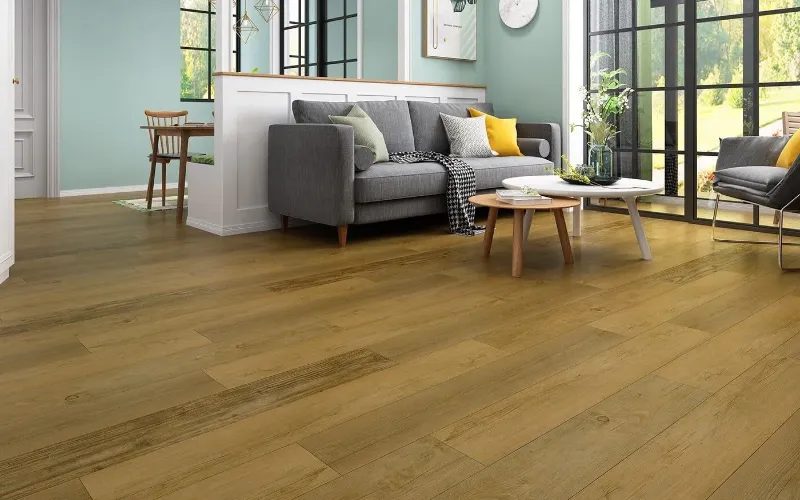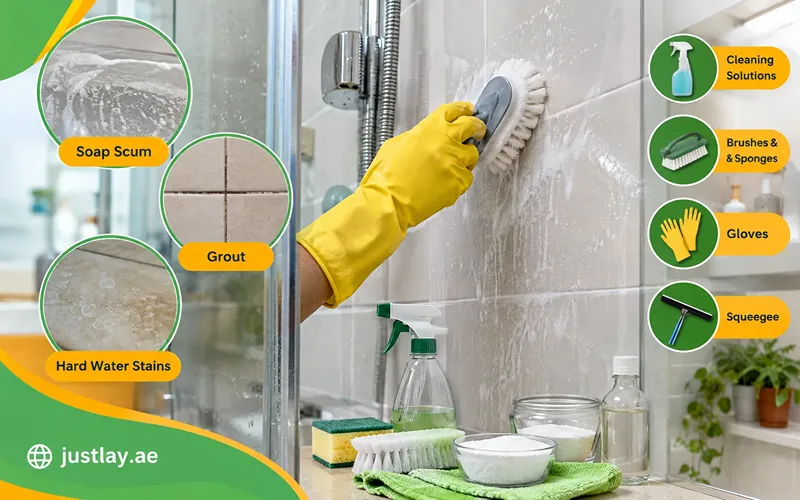
Laminate flooring is quite famous among residents of Dubai. It collectively makes a bundle of aesthetic and functional perks. Are you seeking flooring options to upgrade your home or office? Then laminate is the right choice. It is a very easy-to-maintain and DIY flooring option. It is stain and scratch-resistant, making it perfect for complementing your spaces.
Are you the one searching for how to install laminate flooring in Dubai without errors? Then this guide is perfect to answer your queries. See below for a step-by-step installation procedure to ensure hassle-free laminate flooring fitting.
Step-by-Step Guide to Install Laminate Flooring
Whether you are a professional or a newbie, this guide will help you to install the laminate floors in your space without any errors.
Essential Tools And Materials Checklist
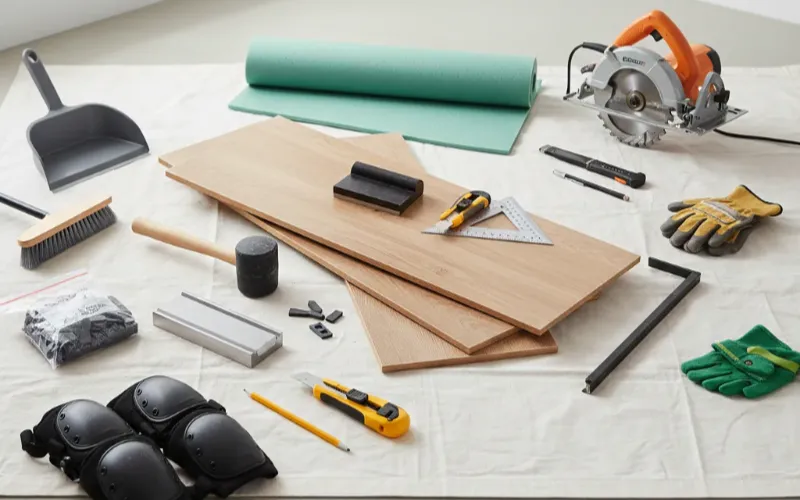
To begin the installation process, you need several tools and equipment.
The following are the basic tools that are required to fit the laminate planks and tiles.
- Tape Measure
- Pencil
- Marker
- Tapping Block
- Carpenter’s Square
- Tapping Mallet
- Pull Bar
- Speed Square
- Moisture barrier
- Spacers
- Underlayment
For Cutting Edge
These are the cutting-edge technologies you must have in your toolkit for the installation of flooring in Dubai.
- Miter Saw
- Table Saw
- Laminate Cutter
- Jigsaw
Safety Gear
One of the most important things you need in your toolkit is safety gear. Here is the list of all the safety essentials.
- Dust Mask
- Gloves
- Knee Pads
- Safety Glasses
Pre-Installation: The “Make Or Break” Phase
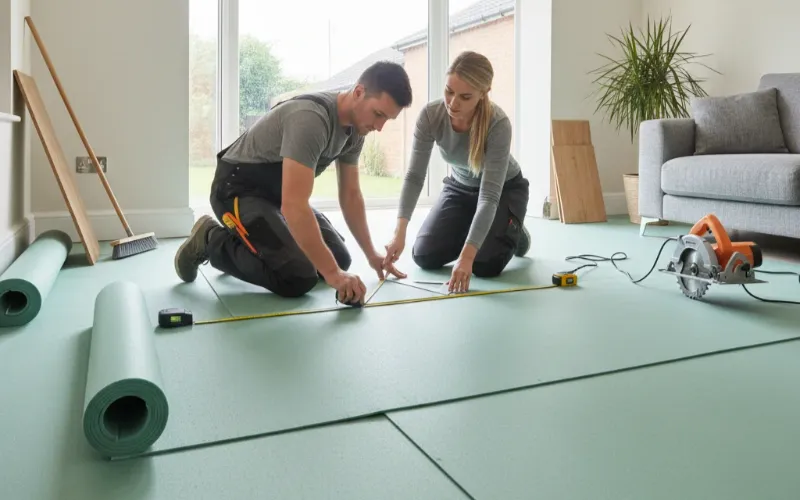
The next step, right after gathering all the required tools, is preparing for installation. In this phase, you need to follow the stepwise procedure listed below.
Acclimatization
To begin preparation, you must acclimate the wooden planks to room temperature and let them settle for at least 48 hours. This will prevent the buckling and cover any remaining gaps. Also, it ensures the longevity of the flooring and stabilizes your walk.
Subfloor Prep
The next step is to prepare the subfloor. In this step, you must apply the 3/16-inch rule to achieve a flat surface. To check the levelness of the base, use at least a 10-foot straightedge to analyze the high and low areas. Sandown those areas with either concrete or wooden material. Also, clean the floor using a vacuum cleaner and check for dryness before actual installation.
Undercutting Door Jambs
Use an oscillating tool to cut the door jambs to eliminate excess material. Trim the corner and door casing using a flush cutter. Keep at least a ⅜-inch gap between the plank and the wall to allow the plank to expand in hot weather.
The Layout Plan
While planning the layout for laminate flooring, you need to measure the width of the room. Then subtract the expansion gaps and divide the width. To avoid the silver board, do not opt for small rows. Also, make sure the last row is 2 inches wide. Ensure the last rows are 12 inches apart from each other.
Installation Guide for Laminate Flooring Installation
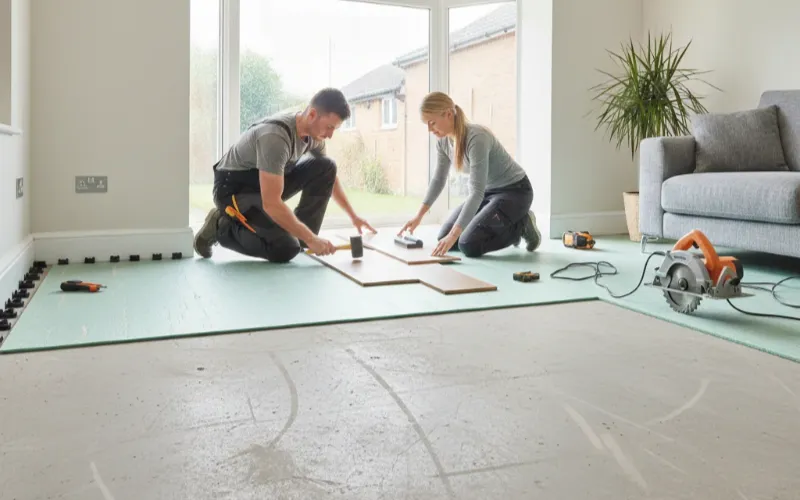
This is a step wise guide for the perfect installation of your laminate flooring. All you need to do is follow the steps below to complete the installation.
Step 1: The First Row
Start placing the laminate tile from the corner of the room. After that, choose the longest wall to give a sharp tongue look, facing it. Lay the planks or tiles by using spacers and creating an expansion gap of at least 12mm to avoid cracking. Lay the tiles so the first row is placed to join the ends of the planks.
Step 2: Staggering Joints
Use a staircase pattern between the planks to get a stable flooring surface. Also, keep 12 inches between the rows of laminate flooring. Along with it, create a pattern, using the remaining pieces of planks and tiles. To avoid the H shape pattern, ensure that flooring joints do not merge with rows.
Step 3: The Click-and-lock Technique
Use a click-and-lock method to fit the laminate flooring tiles. Place the tongue of the new tiles onto the groove of your fitted tile. Keep it at a 30 degree angle. Now press your tiles onto the installation place using the click. After that, tap the tiles with a mallet to ensure they are tight.
Step 4: Managing Obstacles:
The next step is to locate the obstacles in the flooring planks. Also, determine the pipe position and drill the smaller holes into planks. Keep ½ inch above the pipe’s diameter. Use a flush cutter and oscillating tools to remove door jambs.
Step 5: The Final Row
Finally, place the last row of tiles to fit in accurately, leaving space for expansion. Use a pull bar and a strong hammer to fix the tiles. It gives a finished look by eliminating all the spacers from the baseboard.
Finishing Touches
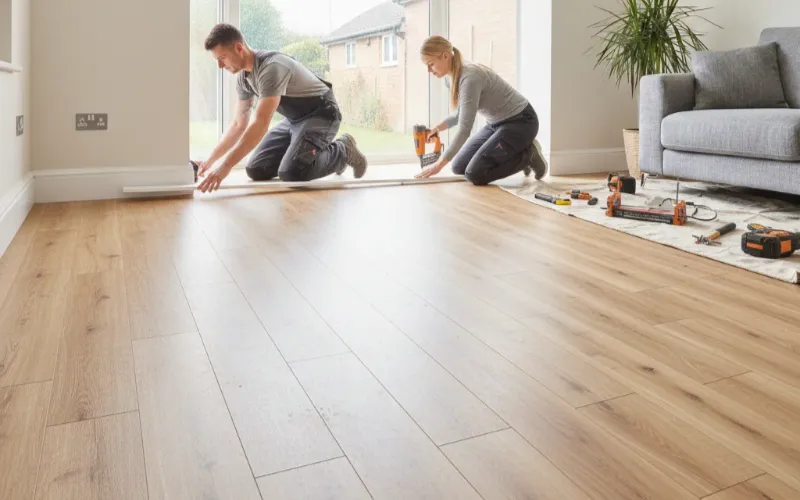
Here comes the final step for installing the laminate floors and tiles.
Removing Spacers:
After the final installation is done, remove spacers from the planks. Keep the gap of ¼ to ⅜ inch around the perimeter.
Installation Transitions:
Make sure to install the transition to connect the carpet and tiles. Use the T molding to match the flooring level.
Baseboards And Quarter-Round:
Keep a closer look at the rule of thumb: “do not nail the floor” and place nails in the wall.
Common Mistakes To Avoid
There are certain mistakes you need to avoid when installing laminate flooring tiles.
Forgetting The Expansion Gap:
During the summer season, laminate flooring often develops a bubble on the surface. If you keep the ¼ gap around the walls, then you can avoid bubbling.
Tapping Too Hard:
During installation, hammering to fit the tiles can damage them. It results in cracked joints, so you need to avoid it.
Ignoring Moisture:
While preparing the base floor, you must consider the moisture factor. When you skip the 6mil polyethylene barrier, that results in dampness and a bad odor. So use a thicker vapor barrier in the underlayment.
Consistent Patterns:
Create a repetitive tile pattern to avoid an H joint. Continuous patterns avoid an unnatural look.
Maintenance Tips For Longevity
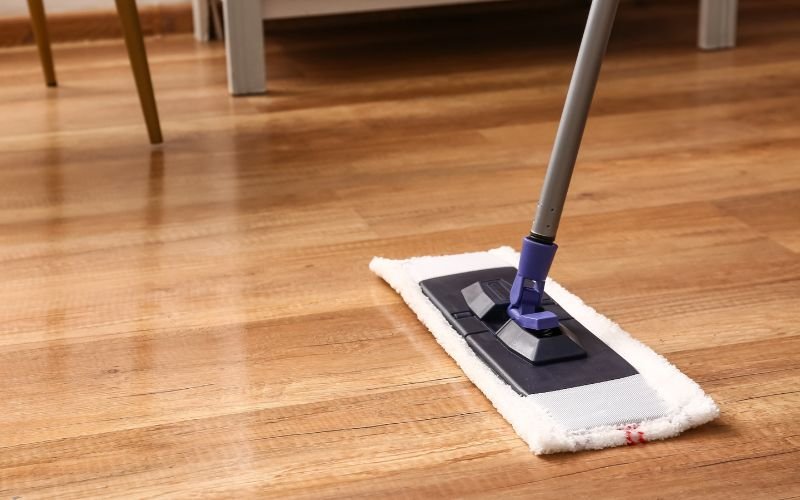
Make sure to sweep the floor with a mop and clean it with a vacuum cleaner.
- Always use DIY solutions for safer results.
- Do not use soap or wax for cleaning.
- Add furniture pads to prevent scratch marks.
Conclusion
Installing laminate flooring is a time-consuming task, but it is cost-effective for homeowners. To begin with, you need to prepare the floor by keeping the expansion gaps. After that, lay the tiles in a way that their tongue faces the wall. Repeat the same process and fix these laminate tiles using a rubber mallet. After installation is complete, remove the spacers. Trim the door jambs using a flush cutter. You have to make sure that the skirting is not fixed to the floor. Lastly, clear out all the dust from the installation location. This will give a tidy installation location. Thus, by following all these steps, you can get perfectly aesthetic and functional laminate flooring within budget.